Replacing the battery cells in your Makita 1420 cordless drill may seem daunting, but with the right guidance, it can be a straightforward process. Follow this step-by-step guide from the experts at batteries-company.com to breathe new life into your drill.
 Materials and Tools Needed:
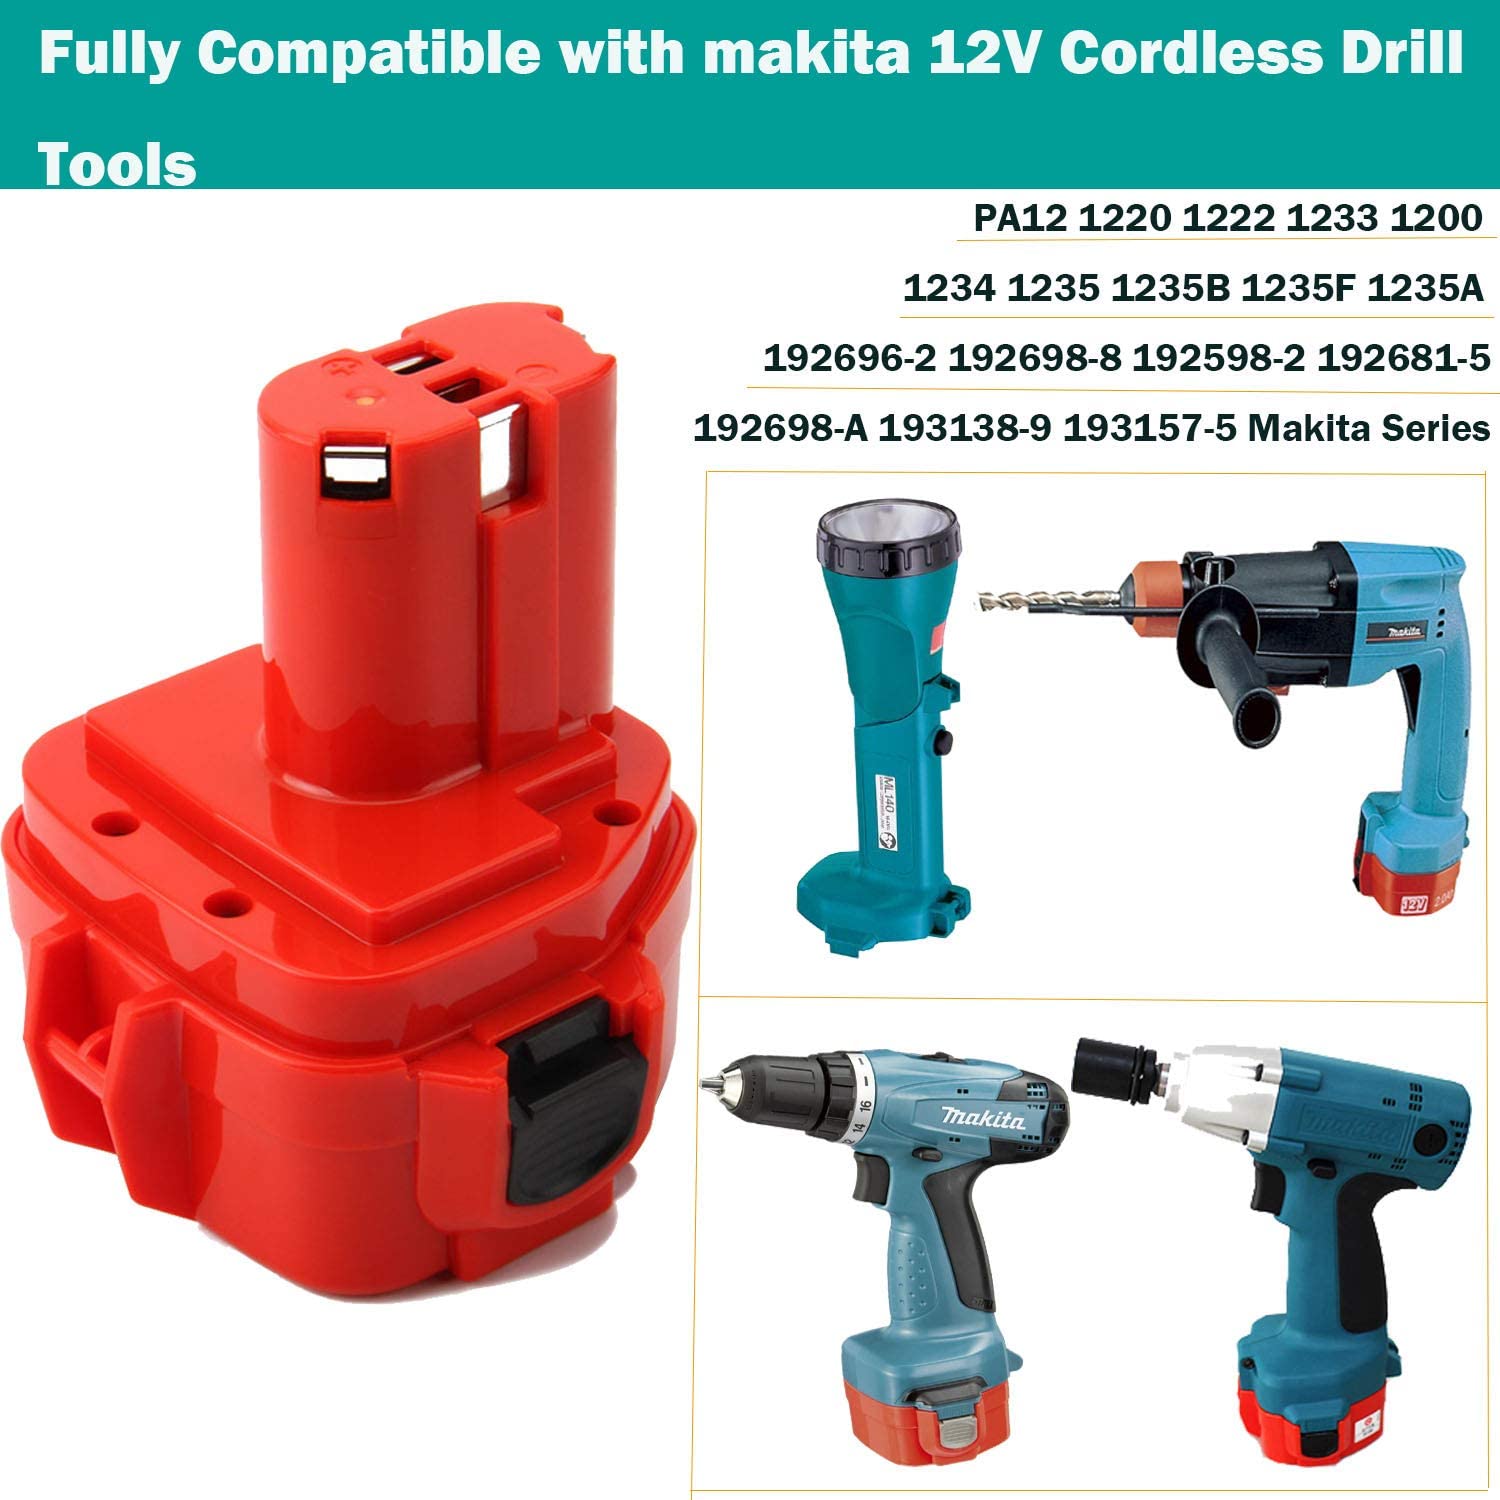
- Replacement battery cells compatible with the Makita 1420 cordless drill
- Soldering iron and solder
- Screwdrivers and/or wrenches
- Multimeter (for voltage testing)
- Heat shrink tubing and heat gun (for insulating exposed wires)
- Safety equipment (gloves, goggles)
Complete instructions for Replacing Makita PA14 Tool Battery Cells
- Safety First: Put on your safety gloves and goggles. Working with batteries can be dangerous, so it’s important to protect yourself.
- Prepare the Workspace: Ensure you have a clean, organized workspace with good lighting. Lay out all the tools and materials you’ll need.
- Open the Battery Pack: Using screwdrivers or wrenches, carefully open the battery pack of your Makita 1420 cordless drill. Be cautious not to damage any internal components.
- Remove Old Cells: Gently disconnect and remove the old battery cells. Take note of how they are connected and oriented for later reference.
- Test the New Cells: Use a multimeter to check the voltage of your new battery cells, ensuring they are within the specified range and functional.
- Solder New Cells: Carefully solder the new battery cells into place, following the same configuration as the old cells. Make sure the connections are solid and there are no loose wires.
- Test the Battery Pack: Once the new cells are in place, reassemble the battery pack and test it to ensure it’s working properly.
- Insulate Exposed Wires: Apply heat shrink tubing to any exposed wires and use a heat gun to shrink them, providing extra protection and preventing shorts.
- Close the Battery Pack: Reassemble the battery pack, making sure all components are securely in place.
- Test the Drill: Insert the refurbished battery into your Makita 1420 cordless drill and test it to ensure everything is working as expected.
By following these steps, you should be able to successfully replace the battery cells in your Makita 1420 cordless drill. Remember to dispose of the old battery cells properly and always follow safety precautions when working with batteries.